
Asset Window
You can access it by going to Tools -> AllIn1 -> Shader Nodes Window.
The window holds a set of texture utilities and the render pipeline status. The texture tools are split across two tabs, Texture Editor and Texture Creators, and the Render Pipeline Detection section sits below both of them, together with the current asset version.
None of these tools are required to use the nodes. They are there so that you don’t have to leave Unity to build the textures the nodes ask for: ramps for Color Ramp, noise for Distortion UV and Vertex Distortion, atlases for flipbooks, normal maps for Normal Map.
1. Texture Editor
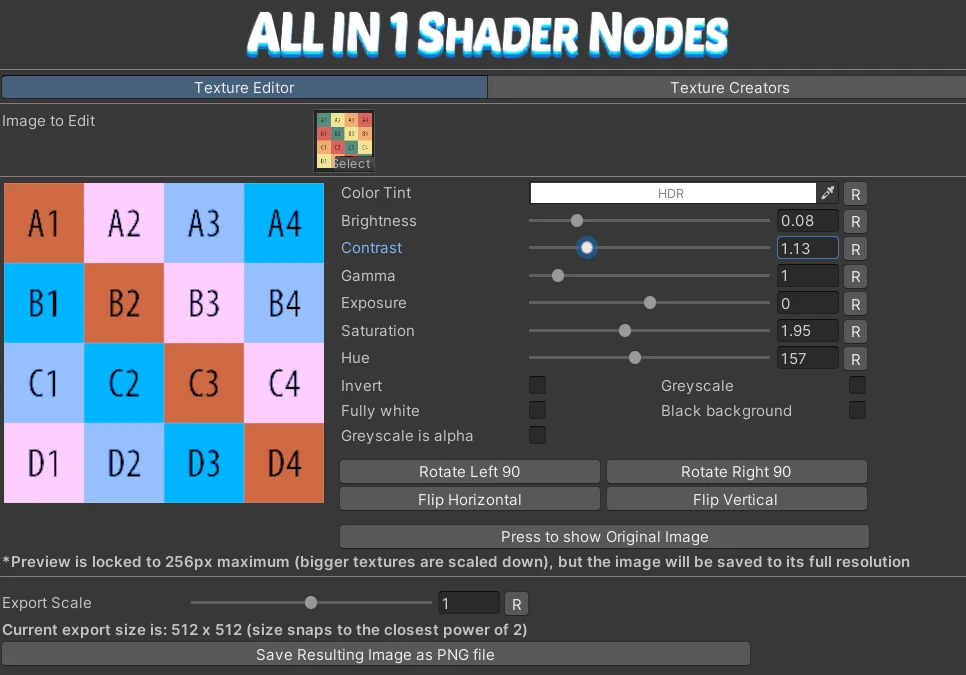
Section titled “1. Texture Editor”A nice and convenient Image Editor for fast texture tweaks. Quickly rotate, flip, change the color, fix the alpha channel or simply change the Export Scale to save some disk space. Press the Save Resulting Image as PNG file button when done.
The preview is capped at 256px, but the image is always saved at its full resolution.
2. Texture Creators
Section titled “2. Texture Creators”The second tab stacks the four generators.
Normal/Distortion Map Creator
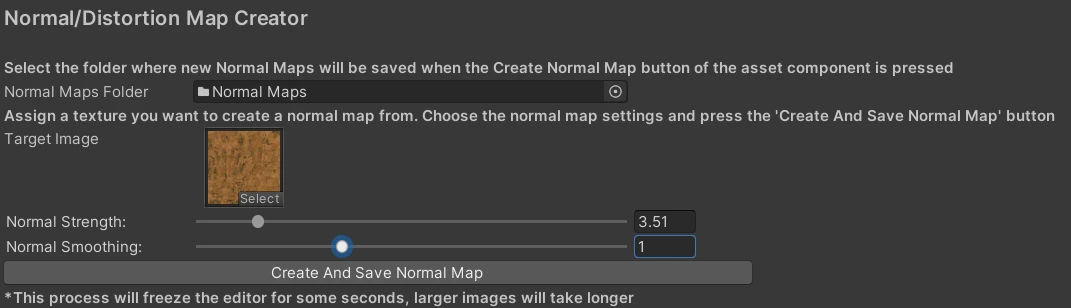
Section titled “Normal/Distortion Map Creator”Create Normal Map textures using this window. You can do so by adding a Target Image, choosing a Normal Strength and Smoothing values and pressing the Create And Save Normal Map button. The result works both as a normal map for the Normal Map node and as a distortion map for the Distortion UV and Vertex Distortion nodes.
Color Gradient Creator
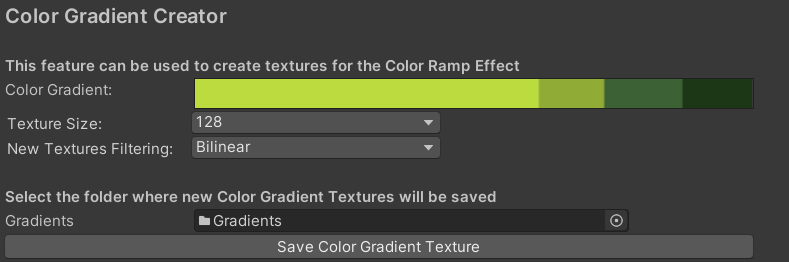
Section titled “Color Gradient Creator”Allows you to create Gradient textures. These are the textures the Color Ramp and Diffuse - ToonRamp nodes expect, so this is usually the first stop before wiring either of them.
Atlas Packer
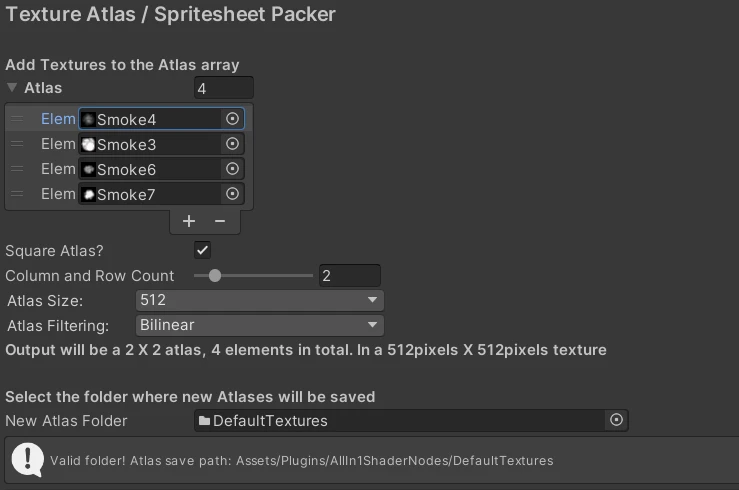
Section titled “Atlas Packer”You may find it useful to merge several images for a Particle System or Sprite Flipbook. Add individual textures to the Atlas Array, configure the options below and press the Create button when satisfied with the configuration.
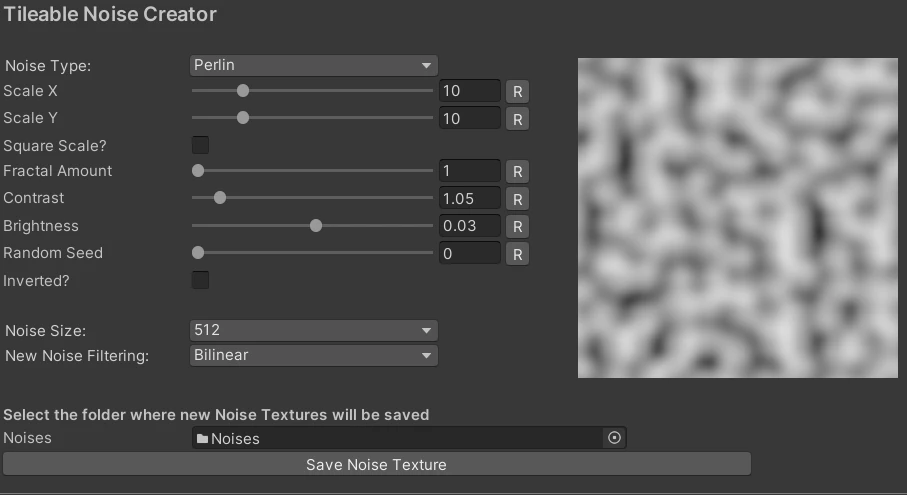
Tileable Noise Creator
Section titled “Tileable Noise Creator”Create noise textures for Black and White Texture Blending, UV effects or whatever other use you can think of. Configure the options and press Save when done.
3. Render Pipeline Detection
Section titled “3. Render Pipeline Detection”The asset detects your render pipeline on import and writes a small shader helper file that adapts every node to it. This section shows what it detected, and the Refresh Pipeline Detection button forces it to run again.
You should never need it under normal circumstances. Press it if you switch pipelines and something looks wrong, or if you hit shader errors referencing Built-In Render Pipeline files while using URP or HDRP. Full detail on what the file is and when it is rewritten: Setup and Render Pipelines.
