First Steps (Must Read)
Add the component
Section titled “Add the component”The asset includes a component that will do all the setup for you. The component is called “AllIn1Shader”:
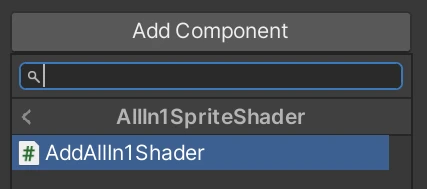
When you add it, the component will swap the current material for a new instance of the AllIn1SpriteShader material. The component also has some features that are overviewed in the next point.
If you want to use the asset material in a prefab make sure to read saving-prefabs.
Here you have a link to a video that gives an overview of the asset in case you prefer a visual explanation:
Or create the material by hand
Section titled “Or create the material by hand”But you can also do it the classic way: right clicking the AllIn1SpriteShader and then going Create->Material. You can then name this material and drag it into the Sprite Renderer Material slot in the Inspector of the desired Sprite:
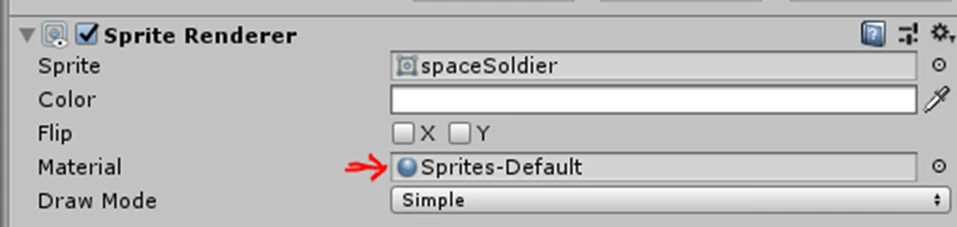
The same process can be followed for UI Images, Particle Systems, Tilemap Renderers, Sprite Shapes and Mesh Renderers.
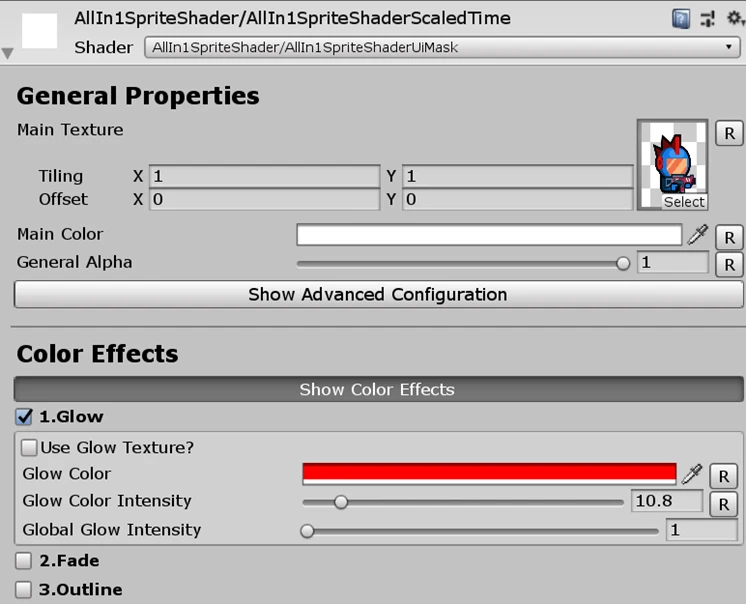
The Material Inspector
Section titled “The Material Inspector”Once the Material is added you’ll see the Material Inspector. You can enable the effects you want to be displayed by clicking the toggle boxes and change the properties values usually by using a slider. You can also change these values via scripting (see Scripting section).
Animating in the Scene view
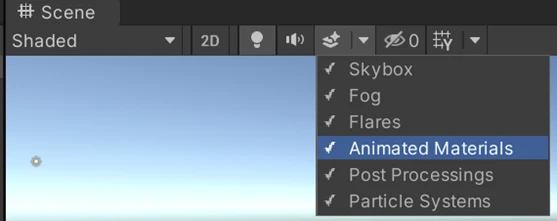
Section titled “Animating in the Scene view”Make sure that “Animated Materials” is checked in the Scene view (in some versions called “Always Refresh”):