
Asset Window
You can access it by going to Tools → AllIn1 → 3D Shader Window.
The Asset Window offers you a bunch of settings options and utilities:
It is organised as six tabs, seven on URP. Items 3 to 6 below are the four tools inside the single Texture Creators tab rather than tabs of their own.
1. Save Path
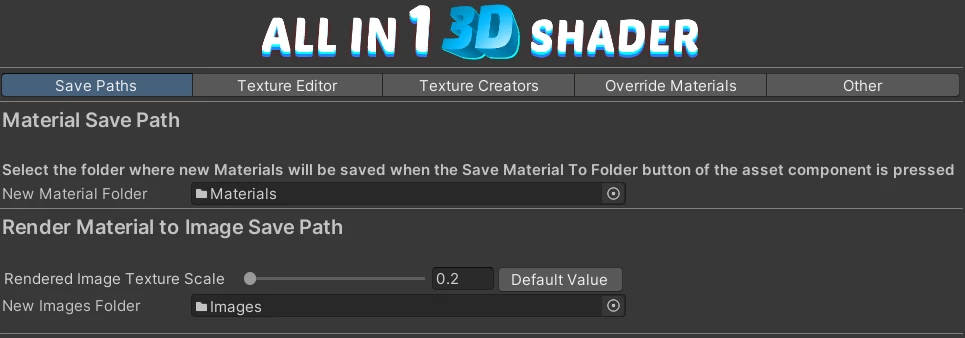
Section titled “1. Save Path”The asset-component-features can save both Materials and Render Material to Image, you can choose the save path here
Baked Shader Save Path
Section titled “Baked Shader Save Path”You can also choose the Baked Shader Save Path here (you can find all info about this feature here: full-control-over-shader-keywords):

2. Texture Editor
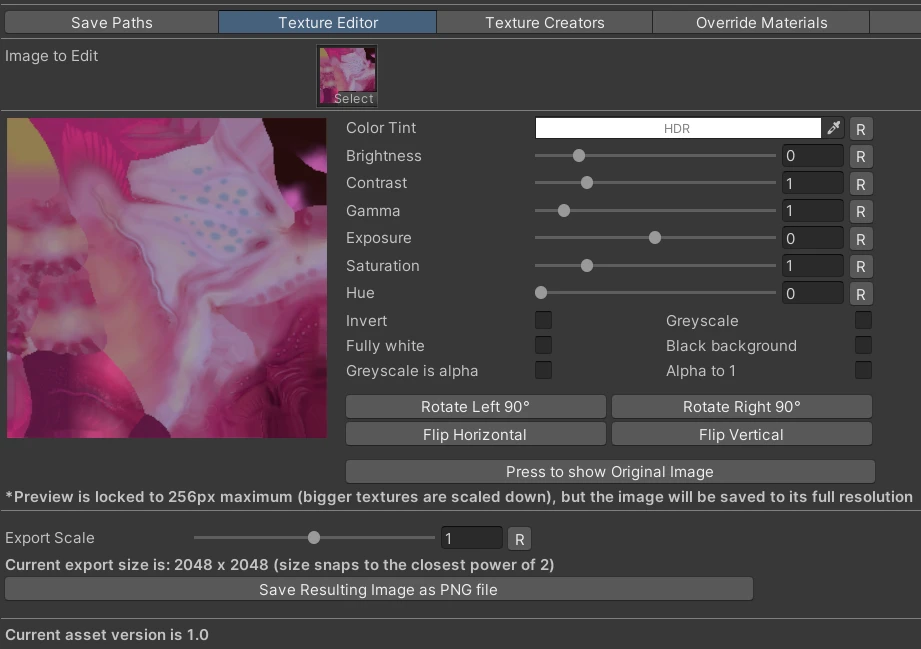
Section titled “2. Texture Editor”A nice and convenient Image Editor for fast texture tweaks. Quickly rotate, change the color, fix the alpha channel or simply change the Export Scale to save some disk space. Press Save Resulting Image as PNG file button when done.
3. Normal Map Creator
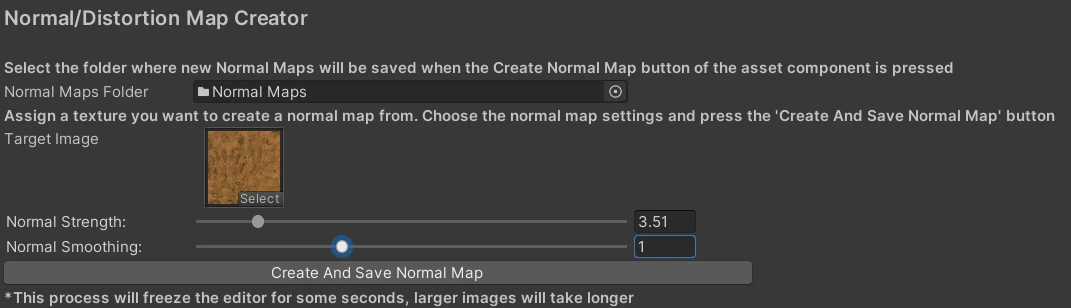
Section titled “3. Normal Map Creator”Create Normal Map textures using this window. You can do so by adding a Target Image, choosing a Normal Strength and Smoothing values and pressing the Create And Save Normal Map.
4. Gradient Creator
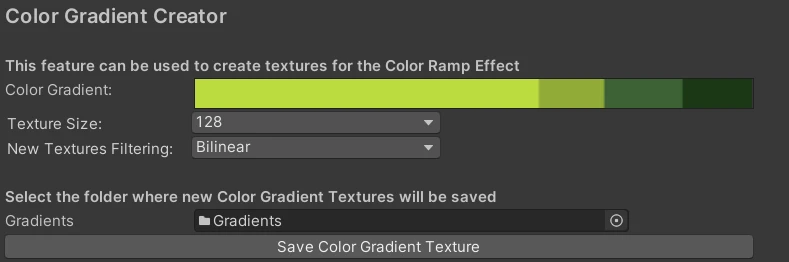
Section titled “4. Gradient Creator”Allows you to create Gradient textures that can then be used with the asset shader. The shader already has a Gradient Drawer that allows to live edit your Gradients in the Material Inspector, but you have the option to create a gradient here too:
5. Atlas Packer
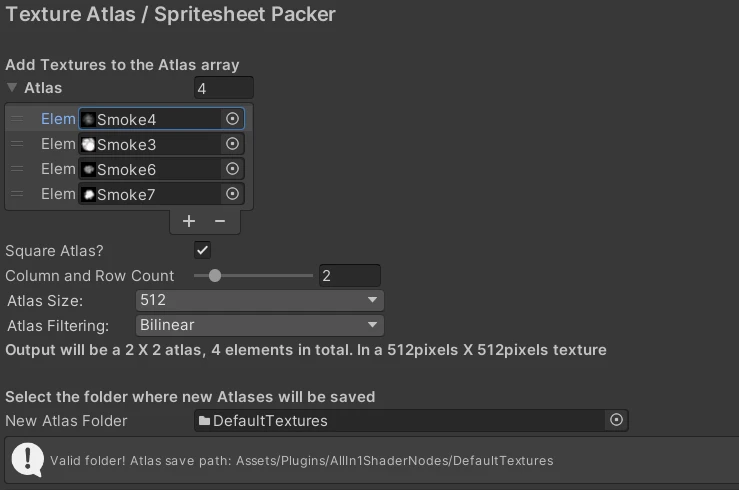
Section titled “5. Atlas Packer”You may find it useful to merge several images for a Particle System or Sprite Flipbook. Add individual textures to the Atlas Array, configure the options below and bress the Create button when satisfied with the configuration.
6. Tileable Noise Creator
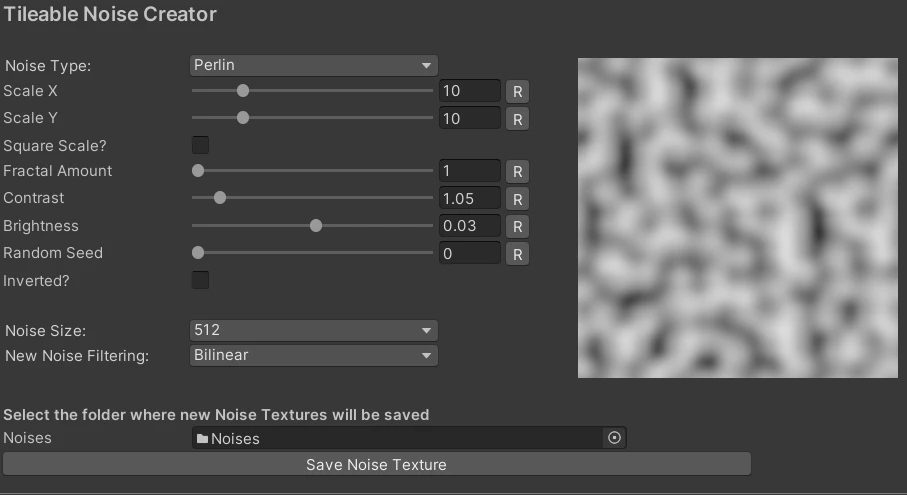
Section titled “6. Tileable Noise Creator”Create noise textures for Black and White Texture Blending, UV effects or whatever other use you can think of. Configure the options and press Save when done.
7. Override Materials
Section titled “7. Override Materials”Explained in its own section batch-override-materials

8. Active Effects List
Section titled “8. Active Effects List”You can read all about it in full-control-over-shader-keywords.
9. Other
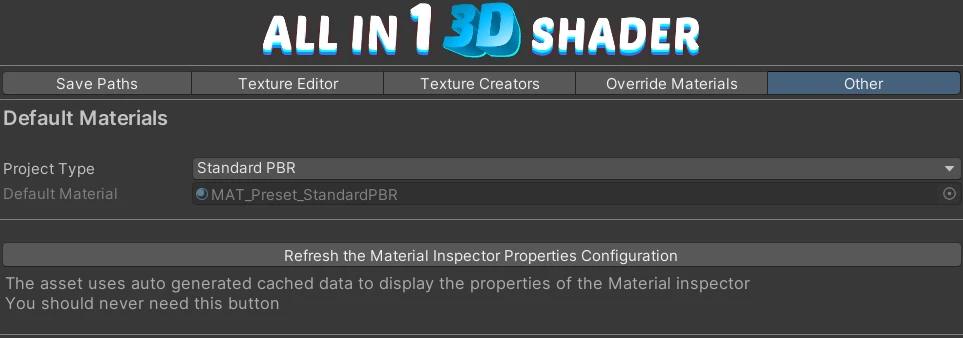
Section titled “9. Other”In Other you have 2 sections:
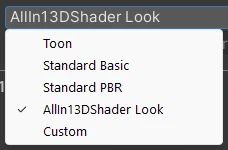
- In Default Materials you can select what Material preset will be used when the Asset Component needs to create a new Material. The asset has 4 premade ones, but you can also select Custom and insert in the Slot a Material you want to use as a template. Here you can add your very special unique shader that represents most of the objects of your game. So that when you create a new Material you have a personalized starting point that fits your project.
- The “Refresh the Material Inspector Properties Configuration” is a button that you can ignore. It is mostly there for dev use or just in case (we’ll probably remove it at some point). The asset uses an automatically generated, cached, and maintained data Scriptable Object to display the Material properties in the inspector. This button forces a refresh or rebuild of the data Scriptable Object.
10. URP Settings Tab
Section titled “10. URP Settings Tab”Finally, if you are in URP (otherwise it won’t be visible) you’ll find the “URP Settings Tab”

Here you’ll find:
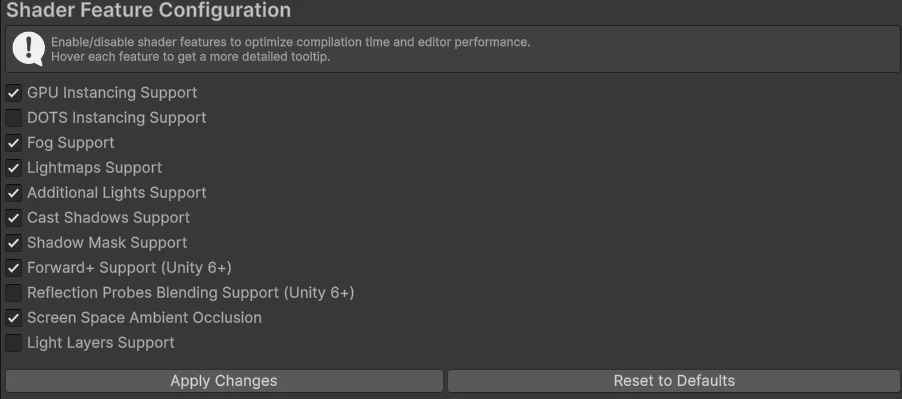
URP Shader Feature Configuration
Section titled “URP Shader Feature Configuration”The urp-shader-feature-configuration
URP auto configuration
Section titled “URP auto configuration”The auto configuration button for URP. This button will do all the setup steps mentioned in urp-and-post-processing-setup
